I thought I would share with you one of my favorite skirts to make for a little girl. It is super easy, if I can do it, anyone can. It is made from thrifted vintage pillow cases.
As much as I love to sew, I am self taught and to be honest, quite lazy. I want instant gratification. I am sure that if any real seamstresses out there read this tutorial it will make them cringe! LOL!
Here we go! My daughter is about a 2T - 3T, but I also made one for my step daughter who is 8 and wears a size 8. Same instructions, just adjust the measurements.
I started by cutting off the bottom half of a pillow case. The bottom finished end becomes the hem of the skirt. For my older daughter I cut it up higher, for the little one, this will do.

I then cut a few strips from pillow cases the long way. Basically, the strips for the ruffles should be at least twice or more long as the skirt's circumference.

Fold over the edge of the strips double, and press. If I were making this as a gift I would do the same on both sides of the strips, but knowing my kid will most likely spill grape juice or something equally staining on hers in short order, I don't bother.

Also press your seam for the elastic. Make sure you measure the width of the elastic! Haha, Lesson learned.

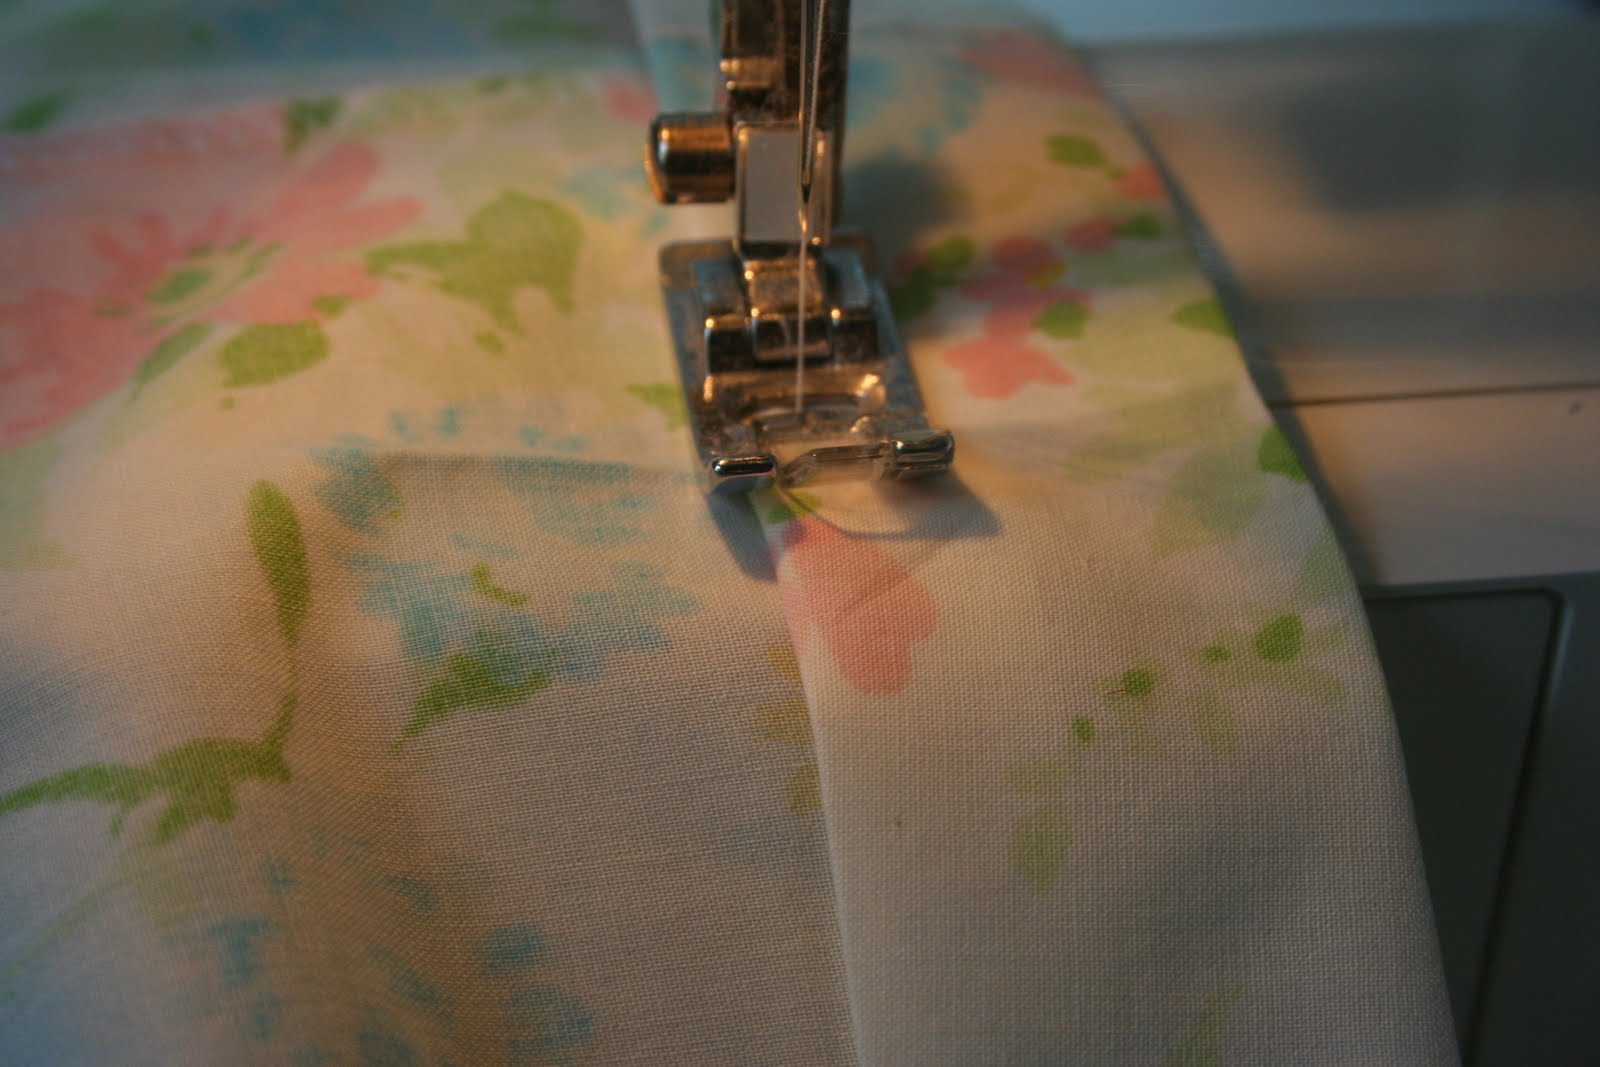
Sew the seam for the elastic, leaving an opening.

Measure the child's waist and cut the elastic 1/2 an inch longer or so. I stick a safety pin on one end of the elastic and feed it through.

Sew the elastic, really, really well.

Then close up the opening and voila! The skirt part is done! Kinda cute like this, but let's keep going!

OK I forgot to take a photo, but go ahead and sew up the strips. Yawn, borning, I just zone out during that part.
Here comes the really fun part! Elastic thread! Hand wind your bobbin with elastic thread. Don't pull on it, just wind it with no tension. I have seen tutorials on how to hand wind the elastic thread onto a bobbin, but it's pretty self explanatory.

Pop the bobbin in and start sewing down the full length of each strip. Most people use the technique for shirring. I'm lazy and use it to make ruffles.

If your strip is long enough, and you want it extra ruffle-y, you could do two rows. I just did one and this is what I ended up with.

Do that for each strip and then pin the bottom ruffle onto the skirt.

Now just simply stitch in the ditch, couldn't be easier. Do make sure to pull the bottom skirt layer tight as you sew the ruffle on.

Leave a little on each end and then flip the ruffle up.

Put the right sides together and stitch.

Rinse and repeat for each ruffle, working your way up.

That's it!

I decided to make my top ruffle from some eyelet trim, just to give it a finished edge, but on others I have not. You could do some ricrac or trim or leave it!

Vintage pillow cases aren't the only things you can use! Look around and see what else you could recycle! On one skirt I ripped the ruffle off a curtain I had shoved in a cupboard.
Of course, a matching skirt for mom would be so cute made from vintage sheets!

All that's left to do is watch a sweet little princess enjoy wearing it!

Hope you enjoyed the tutorial! Let me know if you have any questions!

 Here's one of them, the other I wore yesterday and is in the wash already. The lady at the post office complimented it and even my sister thought it was store bought!
 I loosely followed the instructions in this awesome book! So many ideas for vintage pillowcases! I think my next project will be making a bunch of reusable grocery totes from more vintage pillow cases. I love pillow cases, can you tell?